 |
The extension tops that came out the box were used as a part of the base. The (black painted) pine off cut pieces are an extra support, mounted right on top of the wheels of our worktable. |

 |
The steel profiles that came with the saw were modified and used to make 2 legs and some bracing supports. Next thing is to make a box (under the saw) for the sawdust. |
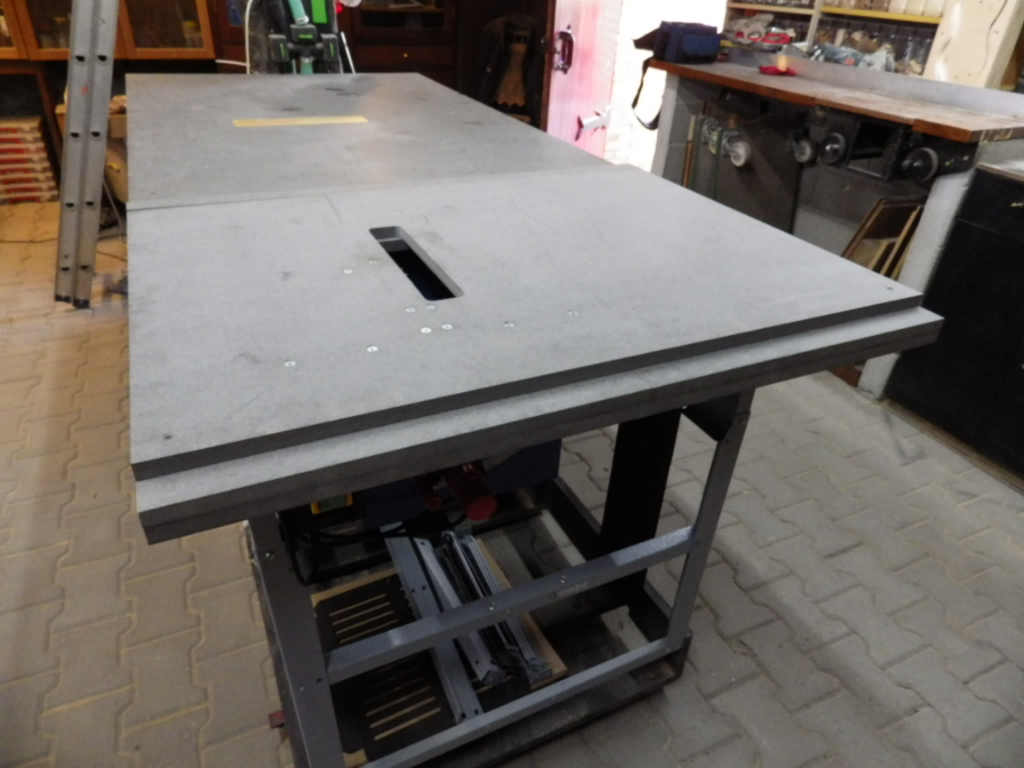 |
The top is 1 cm higher than the work table. We don't have to put the miter-slots in the worktable itself and our problem of sometimes hitting some parts of the other table saw (that's in the worktable for cross-cuts) |
 |
The last problem to solve will be the zero insert plate... |
No comments:
Post a Comment